How to Make Flavored Fondant: Easy Recipes and Tips for Delicious Decorating
How to Make Flavored Fondant: Easy Recipes and Tips for Delicious Decorating
You can make your own flavored fondant at home by adding extracts, oils, or other simple ingredients to store-bought or homemade fondant. This gives you the freedom to pick the exact taste you want—vanilla, lemon, raspberry, chocolate, whatever you like.
With just a few steps, you can mix in these flavors and totally change how fondant tastes on your cakes or cupcakes.
Making flavored fondant is a fun way to add something special and maybe even surprise your friends and family.
What Is Fondant?
Fondant is a sweet, pliable icing. People use it to cover cakes and create decorations.
You can make fondant in several styles, each with its own taste and texture.
Types of Fondant
Classic Fondant: Also called rolled fondant, this style is smooth and easy to shape. Most folks use it to decorate cakes and cupcakes.
Classic fondant uses sugar, water, and gelatin or glycerin.
Marshmallow Fondant: This type uses marshmallows and powdered sugar. Many people find it simpler to make at home, and it’s got a mild, sweet flavor.
Chocolate Fondant: Chocolate fondant blends cocoa powder or melted chocolate into the dough. That gives it a rich taste and a deeper color.
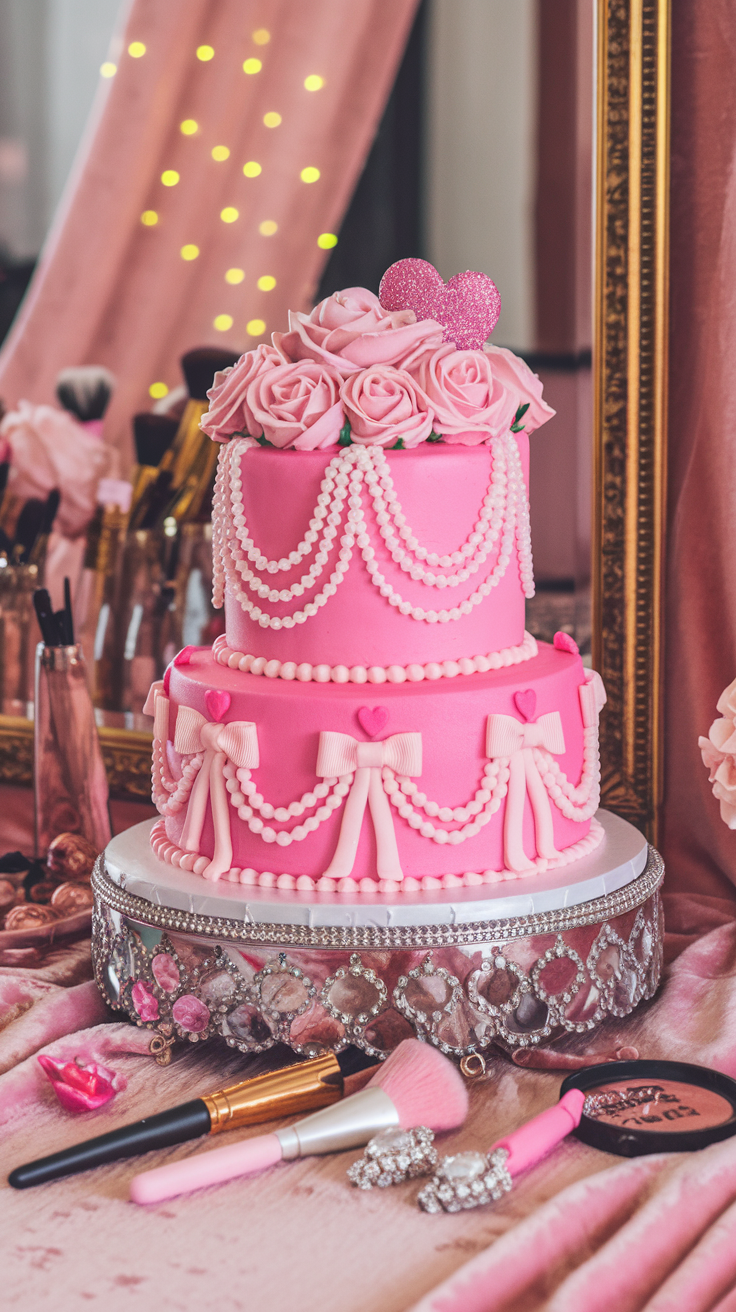
Flavored Fondant: You can add flavors like vanilla, almond, or fruit extracts to any fondant base. Flavored fondant opens up new taste options for desserts.
Each fondant type works best for different uses. Some are better for covering big cakes, while others are great for making small figures or decorations.
Benefits of Using Flavored Fondant
Flavored fondant does more than just look good on your desserts. It adds unique tastes that can match or even boost your cake and fillings.
For example, lemon fondant goes great with vanilla cakes. Chocolate fondant can make brownies or cookies even better.
Benefits include:
- Improved taste: The whole cake tastes better, not just the outside.
- Custom options: You can match the fondant flavor with the cake, fillings, or event theme.
- More fun for everyone: Kids and adults both enjoy familiar colors and flavors.
Essential Ingredients for Flavored Fondant
To make flavored fondant at home, you’ll need a mix of basic ingredients. Think about your fondant base, what kind of flavor you want, and how to add color.
Choosing Your Base: Classic vs. Marshmallow Fondant
You’ve got two main fondant bases: classic and marshmallow.
- Classic fondant uses gelatin, corn syrup, glycerin, water, and confectioners’ sugar (that’s just powdered sugar).
- Marshmallow fondant is easier. You just need mini marshmallows, water, and confectioners’ sugar.
Classic fondant gives you a smooth, elastic finish. You’ll probably need a bit of unsalted butter or shortening to keep it from sticking.
Marshmallow fondant is softer and sweeter, which makes it great for beginners.
If you want to skip complicated steps, go for marshmallow fondant. Just make sure your powdered sugar is sifted so your fondant stays lump-free.
Flavoring Agents and Extracts
You can flavor your fondant by adding extracts like vanilla, almond, coconut, or peppermint. Use only a little—usually 1–2 teaspoons per batch—since extracts are pretty strong.
Here are some popular extracts and their flavors:
| Extract | Flavor |
|---|---|
| Vanilla | Warm, sweet |
| Coconut | Tropical, nutty |
| Almond | Nutty, floral |
| Peppermint | Cool, minty |
| Lemon | Fresh, tart |
If you want your fondant to stay white or you’re adding bright colors, stick with clear extracts. For chocolate fondant, just mix in cocoa powder instead of an extract.
Taste your fondant after you add flavoring. You can always add more, but you can’t take it out if you go overboard.
Selecting Food Coloring
Use gel or paste food coloring for fondant. They’re concentrated, so you don’t need much to get a strong color.
They also won’t make your fondant sticky or runny, which is kind of important.
To add color, dip a toothpick into the gel coloring and swipe it onto your fondant. Knead until the color looks even. Add more if you want a deeper shade.
If you want pastel colors, use just a tiny bit. For bold colors, add more gel little by little.
Avoid liquid food coloring—it can make fondant too soft. For dark shades like black or red, start with a light color base to help get the strongest tone.
Step-By-Step Guide: How to Make Flavored Fondant
Flavored fondant is pretty simple to make at home. You just need a few basic ingredients, some flavorings, and food coloring.
Preparing Your Ingredients and Tools
Gather everything before you start your fondant recipe. You’ll want powdered sugar, light corn syrup, water, glucose, unflavored gelatin, shortening, and your favorite flavor extracts (maybe vanilla, almond, or lemon).
Use clean tools to avoid sticking and mess. Grab a heat-proof mixing bowl, a silicone spatula, a sifter, a measuring cup, a microwave-safe bowl, and maybe some disposable gloves if you hate getting food coloring on your hands.
Gel-based food coloring works best since liquids can mess with the fondant’s texture. Add flavorings at the start and use pure extracts for a strong, even flavor.
Double-check that your flavoring actually goes with your cake or treat before you mix it in.
Mixing and Coloring the Fondant
Start by blooming the gelatin in water, following your recipe. Gently heat it until it melts and looks smooth.
Add corn syrup and shortening, then stir until combined.
Sift powdered sugar into a big bowl and make a well in the center. Pour in your warm mixture and the flavoring extract.
Mix with a spatula until a dough forms. Add food coloring now for even color.
Gloves help keep your hands clean. Start with a small bit of gel color using a toothpick. Mix well and add more if you want a brighter or deeper shade.
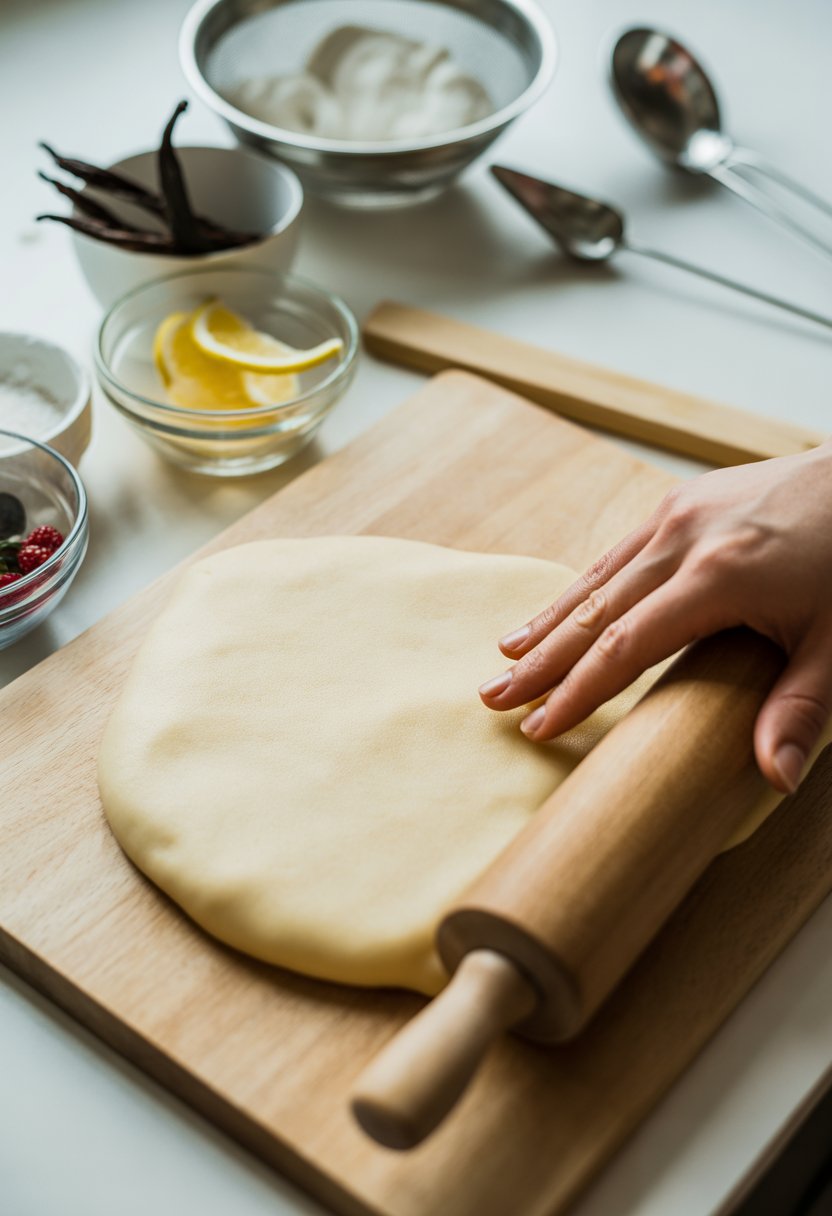
Kneading for Smooth Texture and Pliability
Lightly grease your hands and work surface with shortening to keep fondant from sticking. Turn the dough out onto the surface.
Knead by hand, folding and pressing until it feels smooth, soft, and elastic. This helps the fondant hold its shape and makes rolling it out easier.
Kneading also blends the color and flavor throughout the fondant.
If the fondant’s sticky, add a bit more sifted powdered sugar. If it’s dry or cracking, a few drops of water or shortening can fix it.
Once smooth, wrap the fondant tightly in plastic wrap and stash it in an airtight container until you need it.
Popular Flavored Fondant Recipes
Flavored fondant makes cakes and cupcakes tastier and a lot more fun. You can use extracts, cocoa, or even toasted coconut to create fresh fondant flavors.
Vanilla Flavored Fondant
Vanilla fondant is the go-to for a lot of bakers. It’s got a smooth, sweet taste that works with nearly any cake.
Most recipes just call for 1–2 teaspoons of pure vanilla extract in your regular fondant recipe. For marshmallow fondant, add the vanilla as you melt the marshmallows.
For traditional fondant, mix the vanilla into the liquid before adding the powdered sugar. If you want your fondant to stay bright white, use clear vanilla extract.
You can try vanilla bean paste for a stronger flavor and those little black specks. For a twist, add a splash of almond or butter extract with the vanilla.
Chocolate Fondant
Chocolate fondant is rich and perfect for anyone who loves chocolate. You get a deep cocoa flavor by blending unsweetened cocoa powder into your fondant base.
Start with 1/3 cup sifted cocoa powder for every 16 ounces of fondant. Add a little melted chocolate for more flavor, but let it cool first.
You might need more powdered sugar since cocoa can make fondant softer. Chocolate fondant looks great on cakes and pairs well with fillings like raspberry, caramel, or peanut butter.
Mix chocolate and vanilla fondant for cool patterns if you’re feeling fancy.
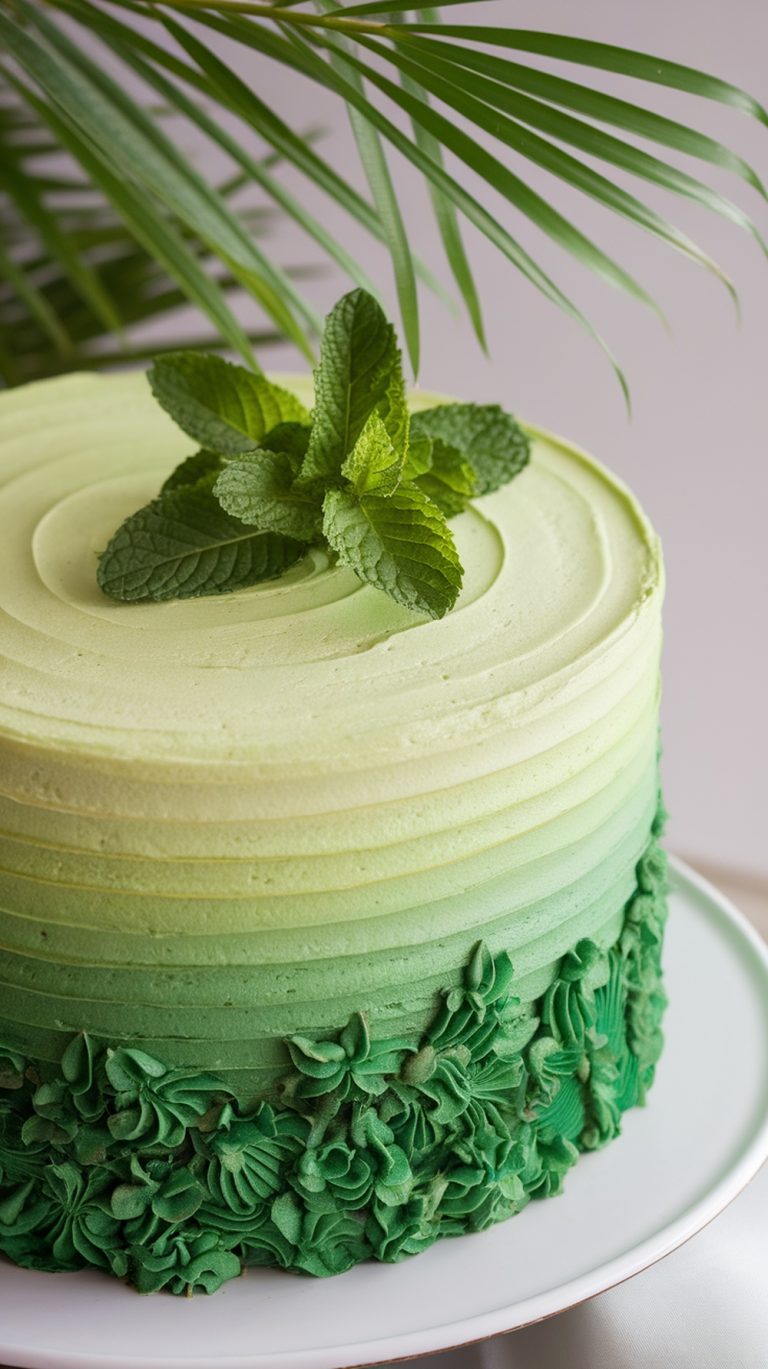
Coconut Fondant
Coconut fondant brings a tropical, sweet flavor that’s mild but unique. The main thing here is coconut extract, and you don’t need much—just a teaspoon or two.
Some recipes use desiccated coconut for texture. Add coconut extract to your fondant as you mix the wet ingredients.
If you’re making marshmallow fondant, add the coconut extract right after melting the marshmallows. Want a stronger flavor? Toast the coconut before adding it in.
Try mixing white and colored fondant with a hint of coconut for a patterned look. Coconut fondant is awesome for summer cakes, beach party themes, or pairing with lemon and pineapple cake layers.
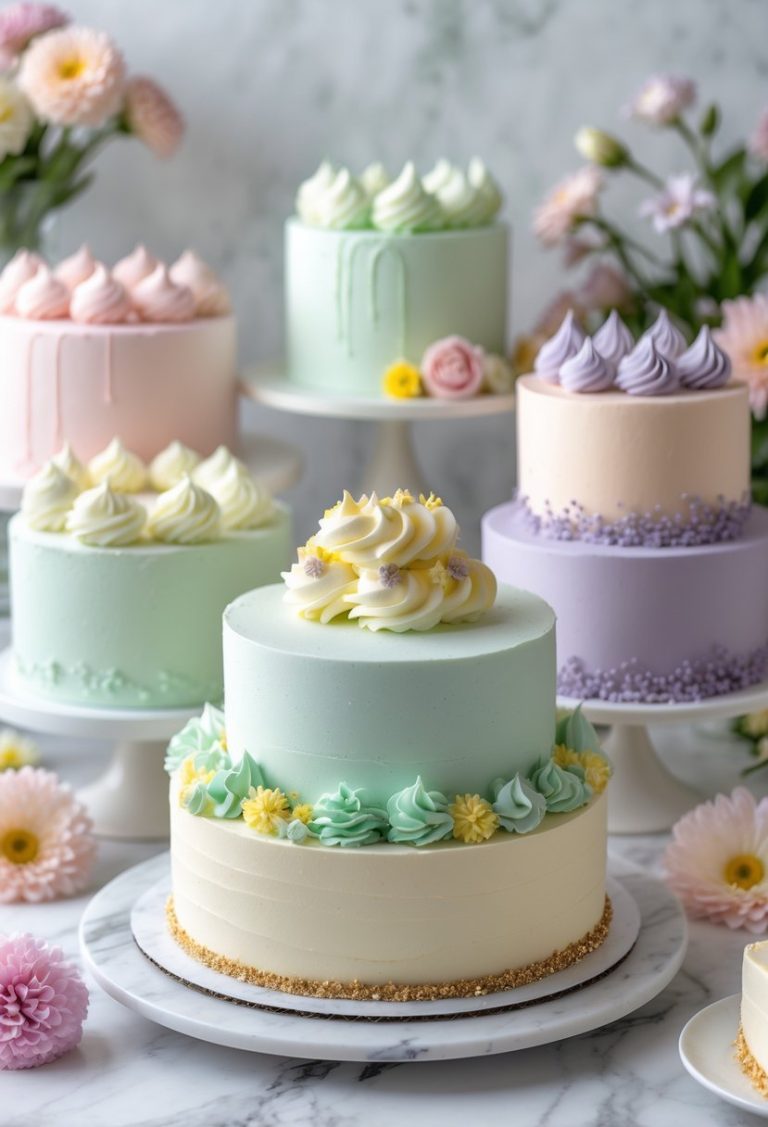
Decorating Cakes and Cupcakes With Flavored Fondant
Flavored fondant gives cakes and cupcakes a tasty layer with a smooth finish. It works well for covering desserts or making playful shapes and designs.
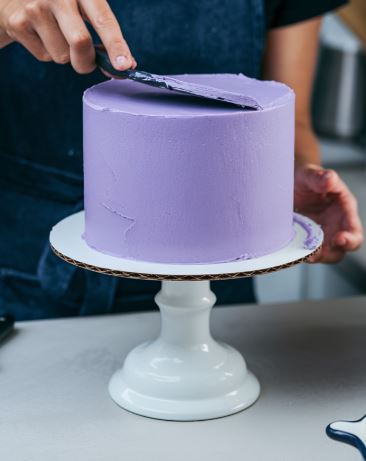
Covering Cakes Smoothly
First, spread a thin layer of buttercream on your cake or cupcakes. This step helps the fondant stick and keeps the surface smooth.
Roll out your flavored fondant on a clean surface dusted lightly with powdered sugar. Try for an even thickness—about 1/8 inch is usually just right.
If you roll it too thin, it’ll tear. Too thick, and it gets gummy and heavy.
Carefully lift the fondant with your rolling pin or your hands. Drape it gently over your cake or cupcakes.
Start smoothing from the top down. Use your hands or a fondant smoother to press out any bumps or creases.
Tips for a smooth finish:
- Trim the extra fondant at the base with a sharp knife or pizza cutter.
- Smooth the sides to get rid of wrinkles and bubbles.
- See an air pocket? Prick it with a clean pin and smooth out the bubble.
For cupcakes, use a cookie cutter to cut circles or shapes that fit the top. The process is pretty much the same as with cakes.
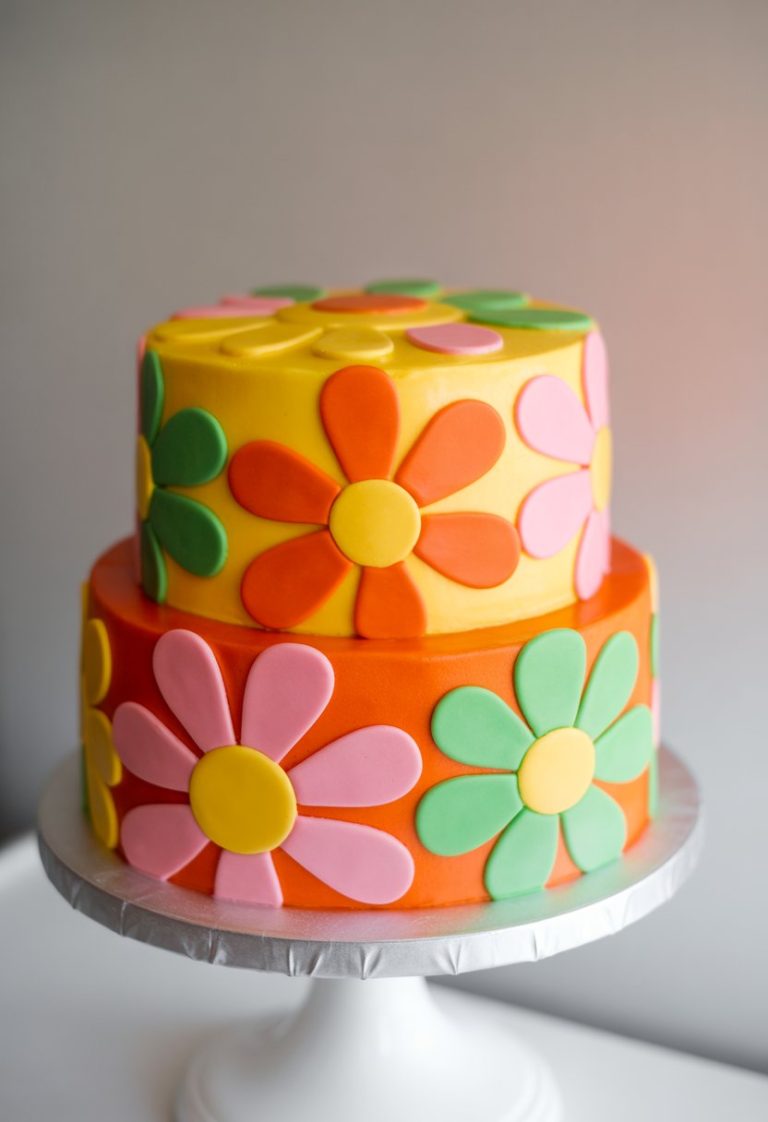
Creating Decorative Designs
Flavored fondant is fun to mold and shape. If it starts sticking, knead in a bit of cornstarch.
Use cookie cutters or a small knife to make shapes like hearts, stars, or flowers. Simple is often best.
Stack different fondant shapes for a layered look. Roll fondant into ropes for borders or little details.
To attach decorations, brush a tiny bit of water on the bottom before pressing it onto the cake or cupcake. Don’t overdo it—too much water makes things slippery.
Decoration ideas:
- Try colored fondant for patterns or letters.
- Add shimmer with edible dust or food coloring pens.
- Make easy 3D shapes, like bows or animals, by shaping small balls and cylinders.
Let your fondant decorations dry on wax paper. This way, they stay firm when you put them on your cake or cupcakes.
Tips for Storing and Freezing Flavored Fondant
Storing flavored fondant the right way keeps it fresh longer. Using good storage methods helps homemade fondant keep its taste and texture.
Proper Storage Methods
Put your flavored fondant in an airtight container to keep out air and moisture. Before sealing, wrap it in plastic wrap and then aluminum foil for extra protection.
This double layer helps stop it from drying out. Store the fondant at room temperature in a cool, dry spot like a pantry or cupboard.
Keep it away from sunlight and heat—those will make fondant sticky and fade the colors. For small amounts, a zip-top bag with the air squeezed out works fine.
Label containers with the flavor and date. If you store it right, flavored fondant can last up to 2-3 months without losing quality.
How to Freeze Fondant Without Losing Quality
To freeze fondant, wrap it tightly in plastic wrap and then in foil or put it in a freezer-safe bag. This keeps out freezer burn and locks in flavor.
Lay fondant pieces flat in the freezer so they don’t bend or warp. Try not to stack or press them, or you’ll end up with weird shapes.
When you want to use it, move the fondant to the fridge overnight. Let it come to room temperature before unwrapping, so condensation doesn’t make it sticky.
Never microwave frozen fondant to thaw—it messes up the texture and taste. Frozen flavored fondant stays good for up to 6 months.
Troubleshooting Common Fondant Issues
Fondant can get dry, crack, or turn sticky—pretty common stuff. If you know how to adjust the moisture and texture, you’ll get smoother, easier-to-work-with fondant.
Preventing Dryness and Cracking
Dry fondant is tough to roll and tends to break when you cover cakes. Wrap any unused fondant tightly in plastic wrap and stash it in an airtight container.
If you spot cracks while kneading, rub a little vegetable shortening on your hands and work it into the fondant. This adds moisture and brings back pliability.
Skip the water—usually, it just makes fondant sticky or even melts it. Don’t use too much powdered sugar when rolling out fondant, either.
Too much dries it out and causes cracks. If you need to, use a bit of unsalted butter on your hands or the work surface. It helps keep the fondant flexible and stops splits.
Keep fondant away from air and dry conditions. If your kitchen feels really dry, set a damp paper towel near your workspace, but don’t let it touch the fondant.
Fixing Sticky or Soft Fondant
Sticky or soft fondant can be a real headache. It just won’t hold its shape on cakes, and honestly, that’s frustrating.
This usually happens when there’s too much moisture in the fondant, or if you’ve overworked it. Sometimes, it’s just the weather messing with you.
If your fondant feels sticky, dust your hands and the counter with a bit of powdered sugar or cornstarch. Knead the fondant until it stops sticking, but make sure it still feels pliable.
Don’t go overboard with the powder, though, or you’ll end up with fondant that’s dry and cracks. It’s a bit of a balancing act.
If it’s still too soft, leave it out at room temperature, uncovered, for 5-10 minutes. Usually, a little air helps it firm up.
Still not right? Try kneading in a bit more sifted powdered sugar. Sometimes that’s all it takes.
Warm or humid rooms can make fondant even stickier. If that happens, move it somewhere cooler or set up a fan nearby.
Skip the fridge—cold just makes fondant sweat later on, which is a whole new problem.